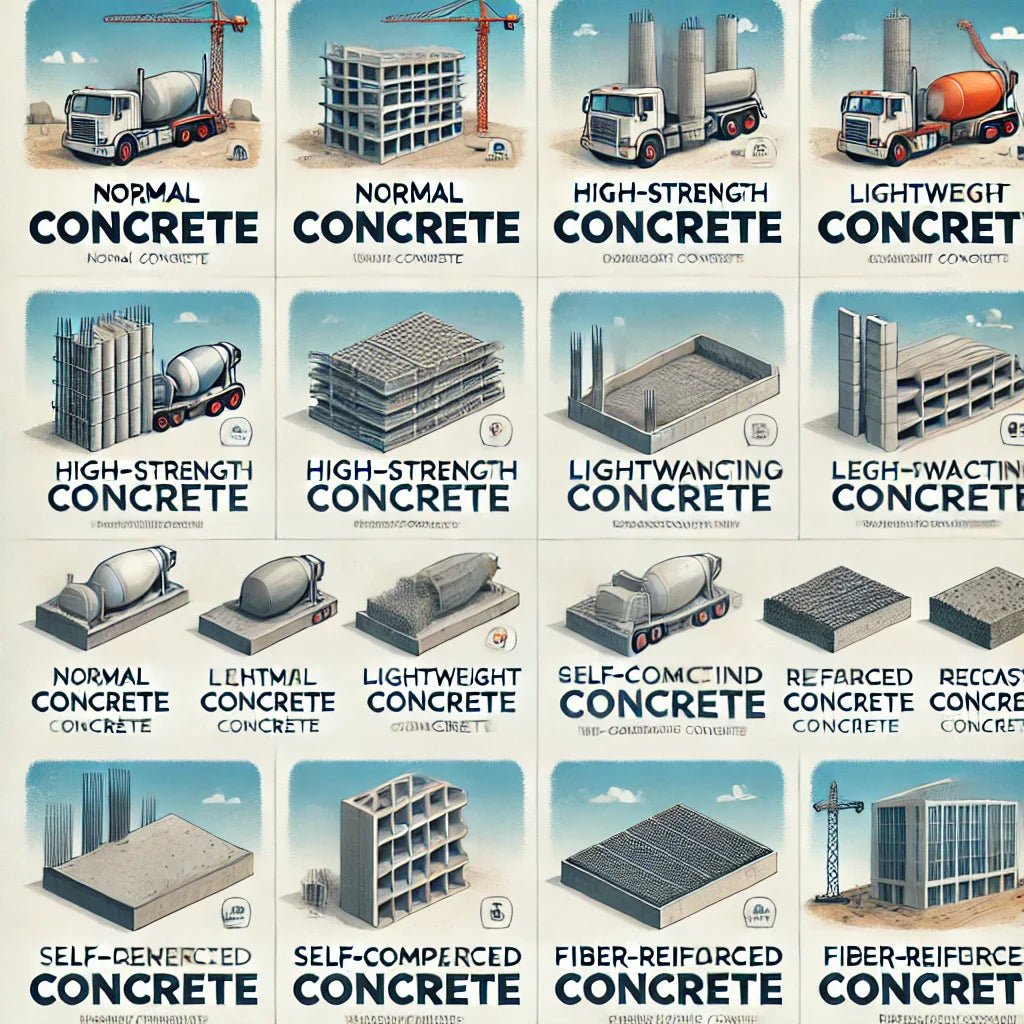
Types of Concrete and Their Manufacturing Processes
Share
Types of Concrete and Their Manufacturing Processes
Concrete is one of the most widely used building materials in the world, valued for its durability, versatility, and strength. Depending on its composition and intended application, concrete can be classified into different types. Below, we explore the most common types of concrete and how they are manufactured.
1. Normal Concrete (Traditional Concrete)
✅ Composition: Cement, sand, gravel, and water ✅ Manufacturing Process:
-
Cement and aggregates are mixed in a specific ratio (typically 1:2:4 or 1:3:6).
-
Water is added gradually while mixing to ensure the correct consistency.
-
The mixture is poured into molds or formwork and left to set and cure over time. ✅ Applications: Used in general construction, sidewalks, and residential buildings.
2. High-Strength Concrete
✅ Composition: Portland cement, silica fume, fine aggregates, water-reducing admixtures ✅ Manufacturing Process:
-
High-quality raw materials are mixed to achieve greater compressive strength.
-
Silica fume and superplasticizers are added to reduce water content and increase density.
-
The concrete is poured and cured under controlled conditions, sometimes with steam curing. ✅ Applications: High-rise buildings, bridges, and heavy-load structures.
3. Lightweight Concrete
✅ Composition: Cement, lightweight aggregates (such as expanded clay, perlite, or pumice) ✅ Manufacturing Process:
-
Special lightweight aggregates replace traditional gravel and sand.
-
The mixture is carefully controlled to maintain lower density and weight.
-
The concrete is poured and cured like normal concrete. ✅ Applications: Used in precast panels, insulation layers, and non-load-bearing structures.
4. Reinforced Concrete (RC)
✅ Composition: Normal concrete + steel bars, mesh, or fibers ✅ Manufacturing Process:
-
Steel reinforcements (rebars or wire mesh) are placed inside formwork before pouring the concrete.
-
Concrete is mixed and poured over the reinforcement.
-
After curing, the concrete and steel work together to increase strength and resistance to tension. ✅ Applications: Bridges, foundations, columns, and large commercial buildings.
5. Prestressed Concrete
✅ Composition: Concrete + high-tensile steel tendons ✅ Manufacturing Process:
-
Steel tendons are pre-tensioned before concrete is poured.
-
After the concrete sets, the steel tendons are released, putting the concrete in compression.
-
This technique improves load-bearing capacity and reduces cracking. ✅ Applications: Highway bridges, railways, and large-span structures.
6. Precast Concrete
✅ Composition: Cement, aggregates, water, and sometimes reinforcement ✅ Manufacturing Process:
-
Concrete elements are cast in a controlled factory environment.
-
Once cured, the elements are transported to the construction site.
-
Precast pieces are assembled using connections and anchors. ✅ Applications: Prefabricated building panels, pipes, stairs, and beams.
7. Self-Compacting Concrete (SCC)
✅ Composition: Cement, fine aggregates, superplasticizers, viscosity-modifying agents ✅ Manufacturing Process:
-
The mix is designed to have high flowability without segregation.
-
The concrete is poured without the need for mechanical vibration.
-
It flows and settles into place, filling formwork easily. ✅ Applications: High-density reinforcement structures, architectural finishes, and complex formworks.
8. High-Performance Concrete (HPC)
✅ Composition: High-quality cement, silica fume, fly ash, superplasticizers ✅ Manufacturing Process:
-
Advanced mix designs enhance strength, durability, and resistance to environmental factors.
-
The mixture undergoes precise control to optimize its mechanical properties.
-
Sometimes additional curing methods, such as steam curing, are used. ✅ Applications: Marine structures, bridges, nuclear power plants, and tunnels.
9. Fiber-Reinforced Concrete (FRC)
✅ Composition: Cement, aggregates, water, and fibers (steel, glass, polypropylene, or carbon fibers) ✅ Manufacturing Process:
-
Fibers are added to the concrete mix during batching.
-
The fibers improve tensile strength, crack resistance, and impact absorption.
-
Concrete is poured and cured as usual. ✅ Applications: Industrial floors, earthquake-resistant structures, and pavement repair.
10. Pervious Concrete (Porous Concrete)
✅ Composition: Cement, coarse aggregates, water, and little to no sand ✅ Manufacturing Process:
-
A specially designed mix with minimal fine aggregates is prepared.
-
The concrete is poured and left to set without excessive compaction.
-
The result is a porous structure that allows water to drain through. ✅ Applications: Parking lots, sidewalks, stormwater drainage systems, and sustainable pavements.
Final Thoughts
Each type of concrete has unique properties suited for different construction needs. Whether it's high-strength concrete for skyscrapers, lightweight concrete for insulation, or pervious concrete for eco-friendly drainage, understanding their differences helps in selecting the right material for each project.
📌 Need a powerful oil remover for your concrete surfaces? Check out our best-selling Oil Remover Solution to keep your driveways and floors clean!