How to Use Rust Converter: A Step-by-Step Guide for Beginners
Share
Rust is a common problem that can affect everything from cars and metal fences to tools and outdoor equipment. If left untreated, rust can significantly damage the structural integrity and appearance of your metal items. Fortunately, using a Rust Converter is an effective and straightforward way to stop rust in its tracks and protect your investments. In this step-by-step guide, we'll walk you through the process of using a Rust Converter, including how to prepare the surface, apply the product, and ensure the best results. Whether you're new to rust treatment or just looking to refresh your knowledge, this guide has you covered.
What is a Rust Converter?
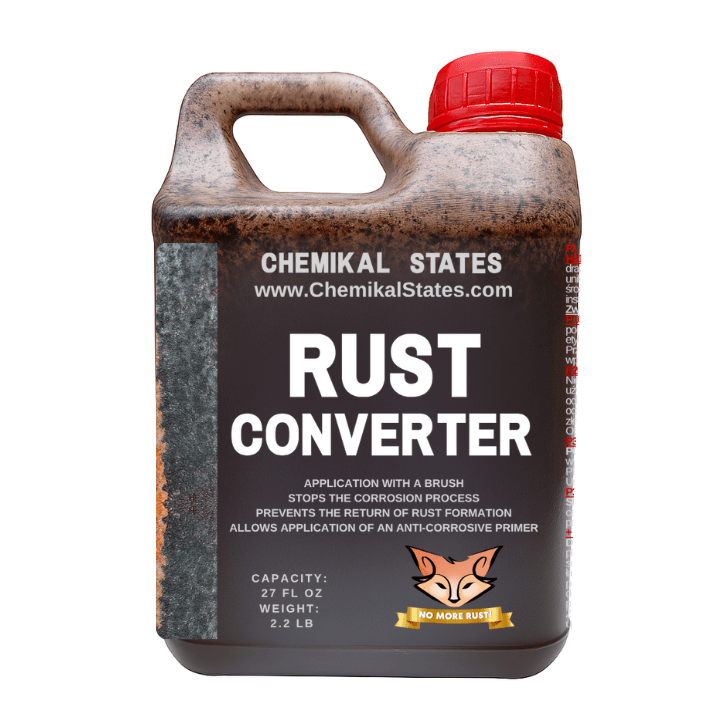
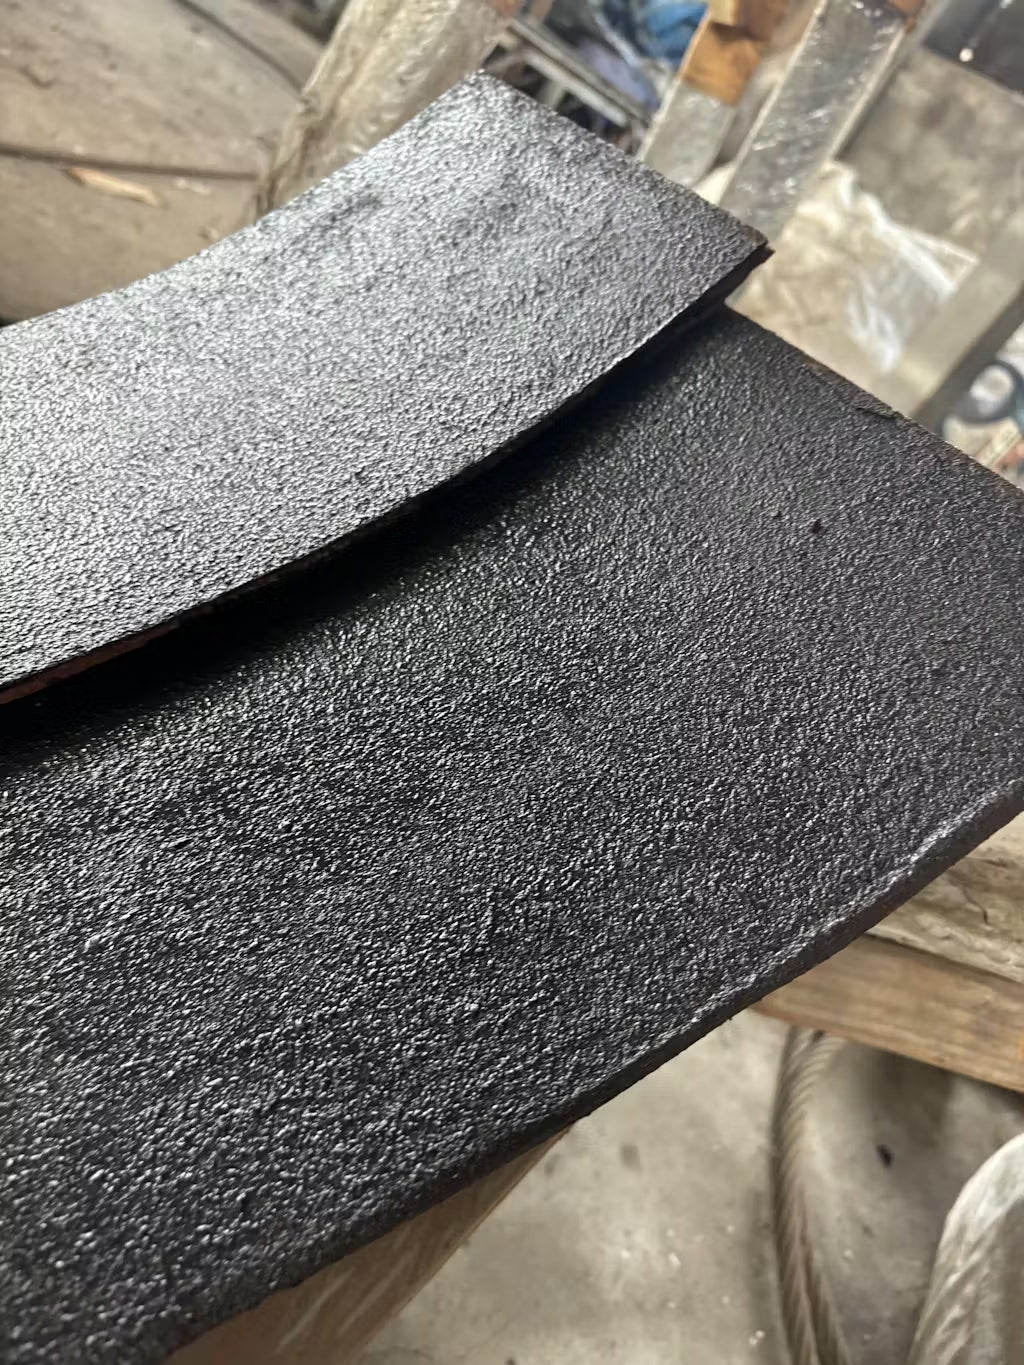
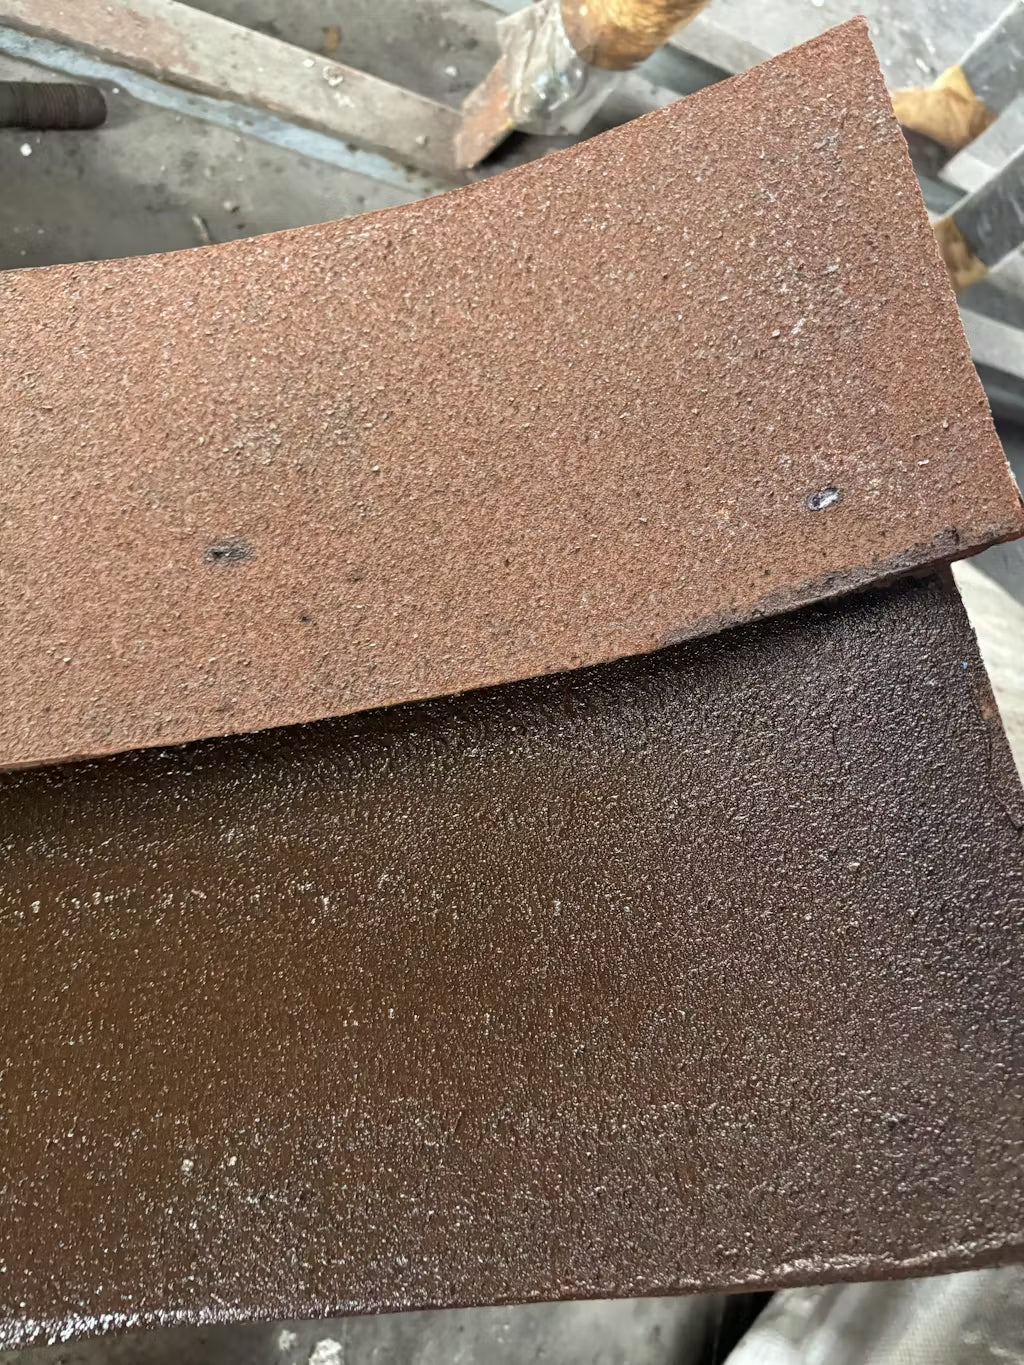
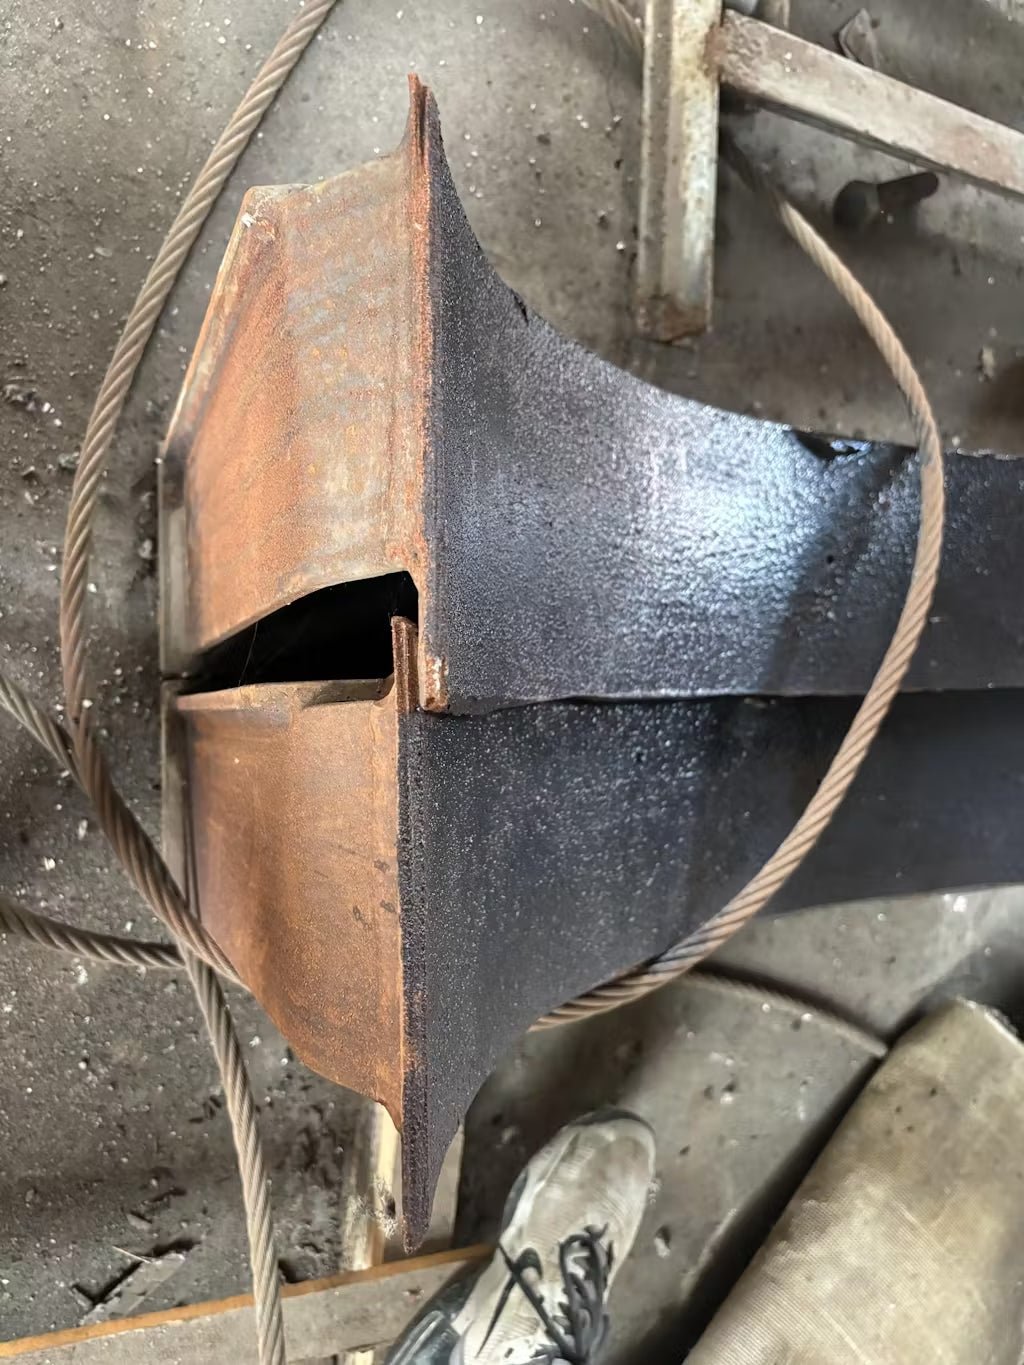
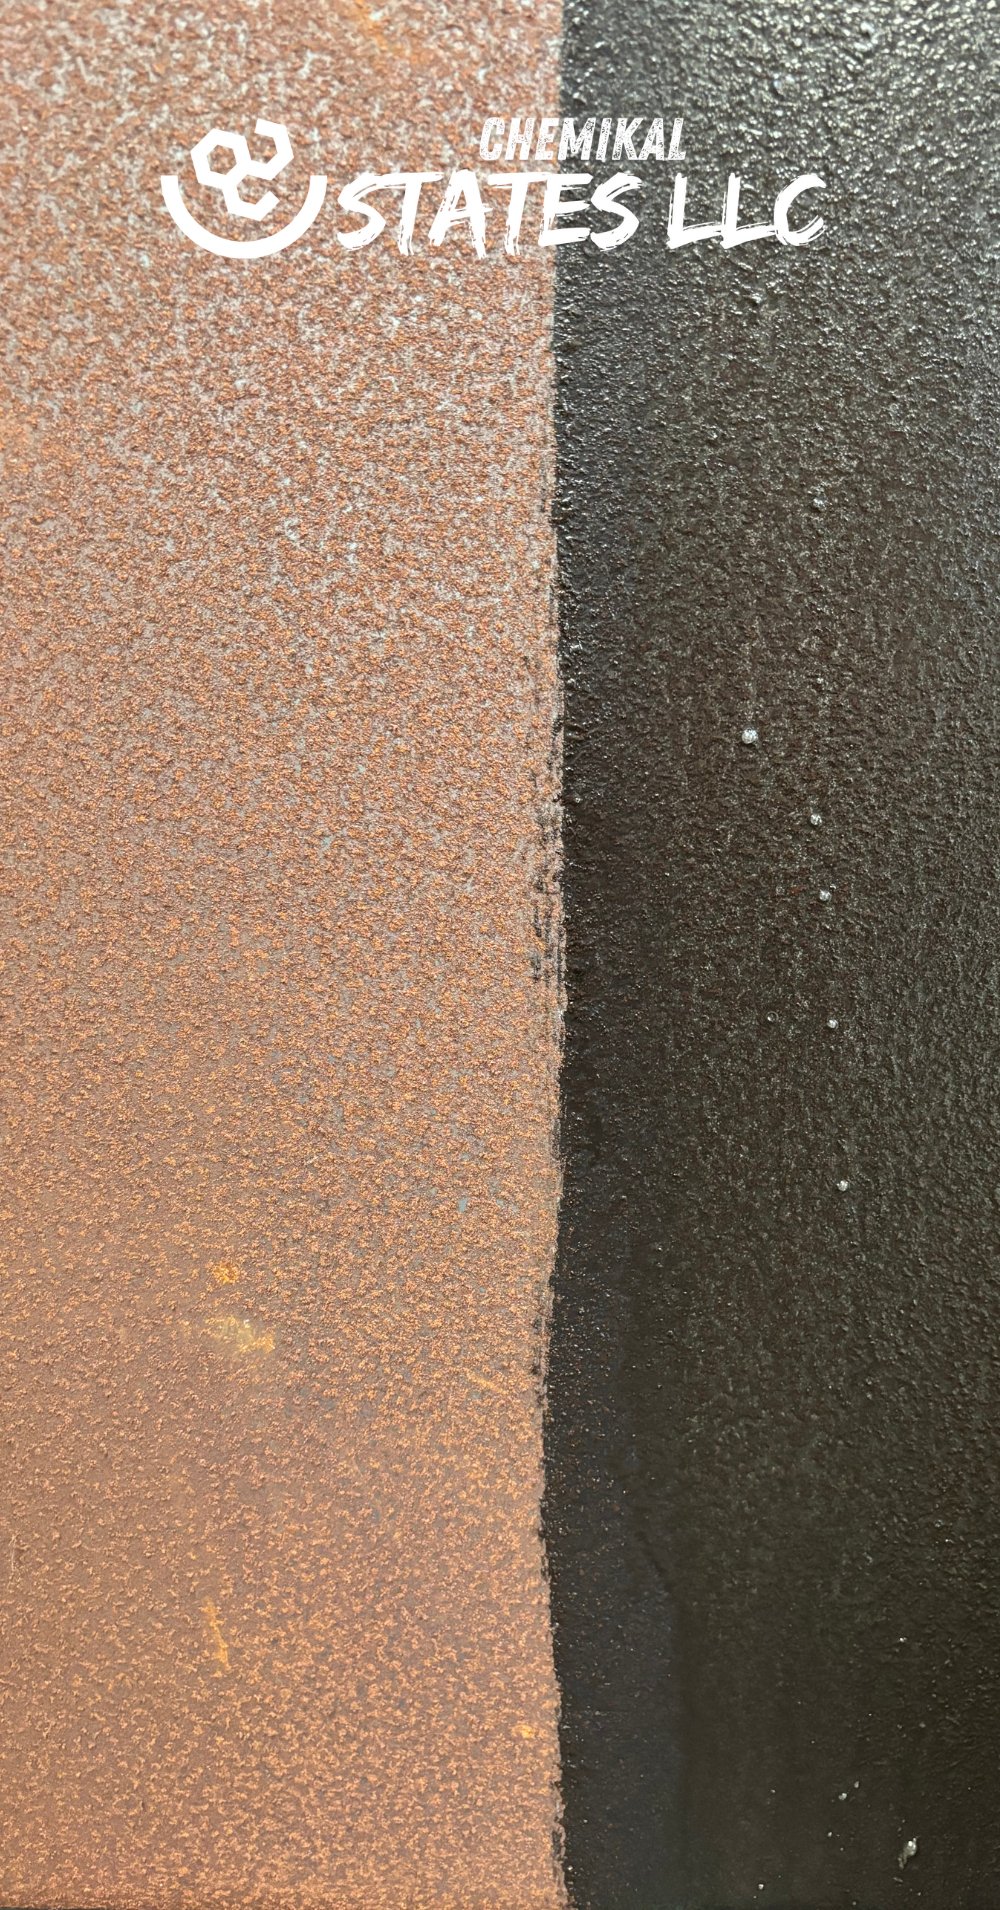
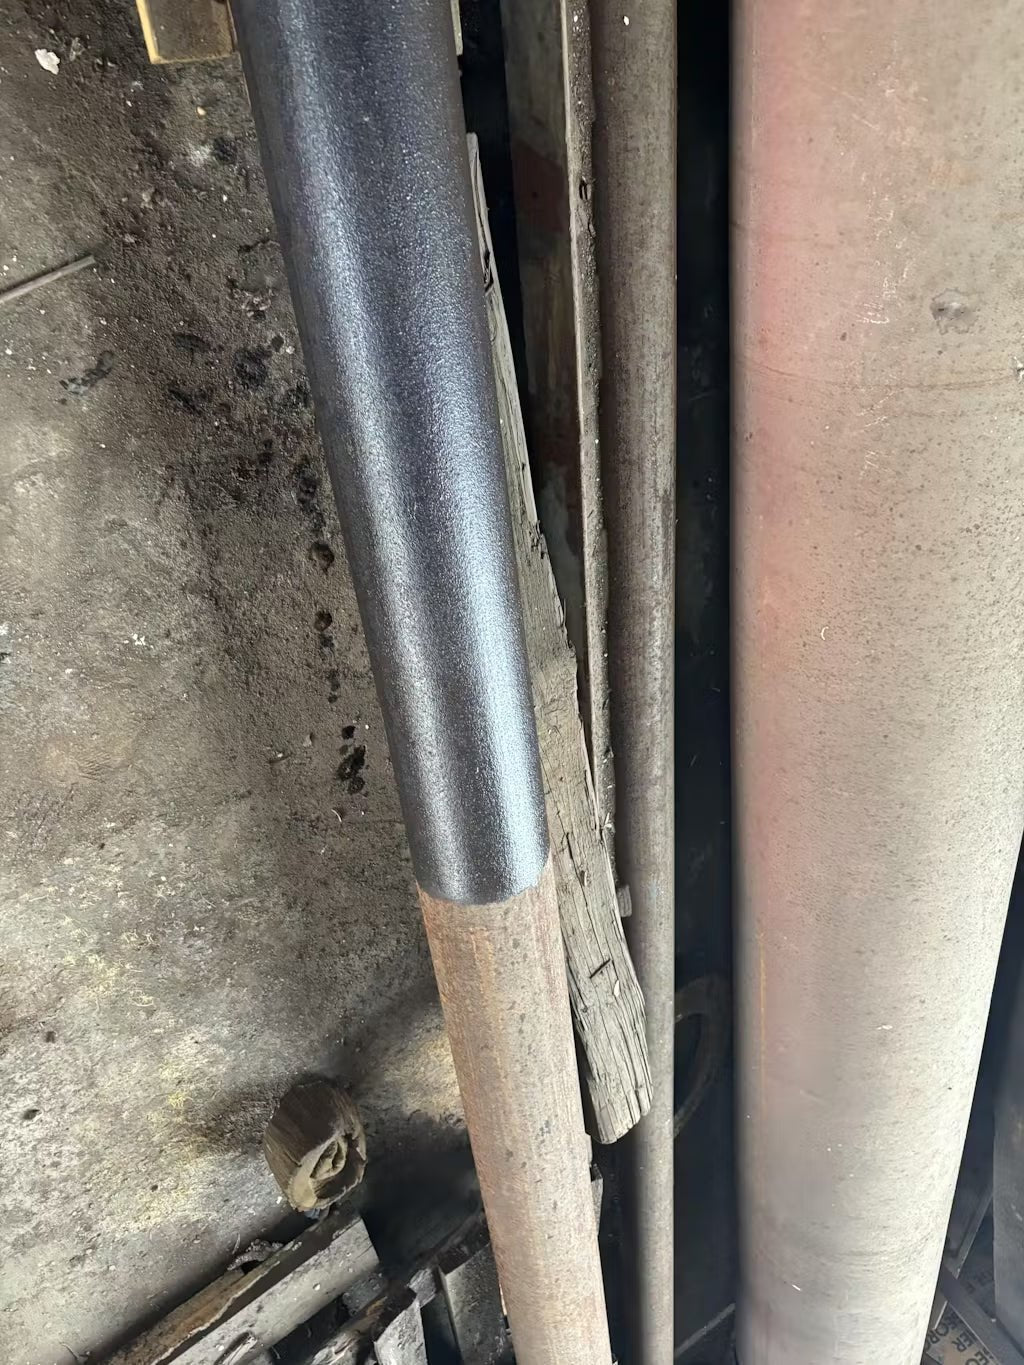
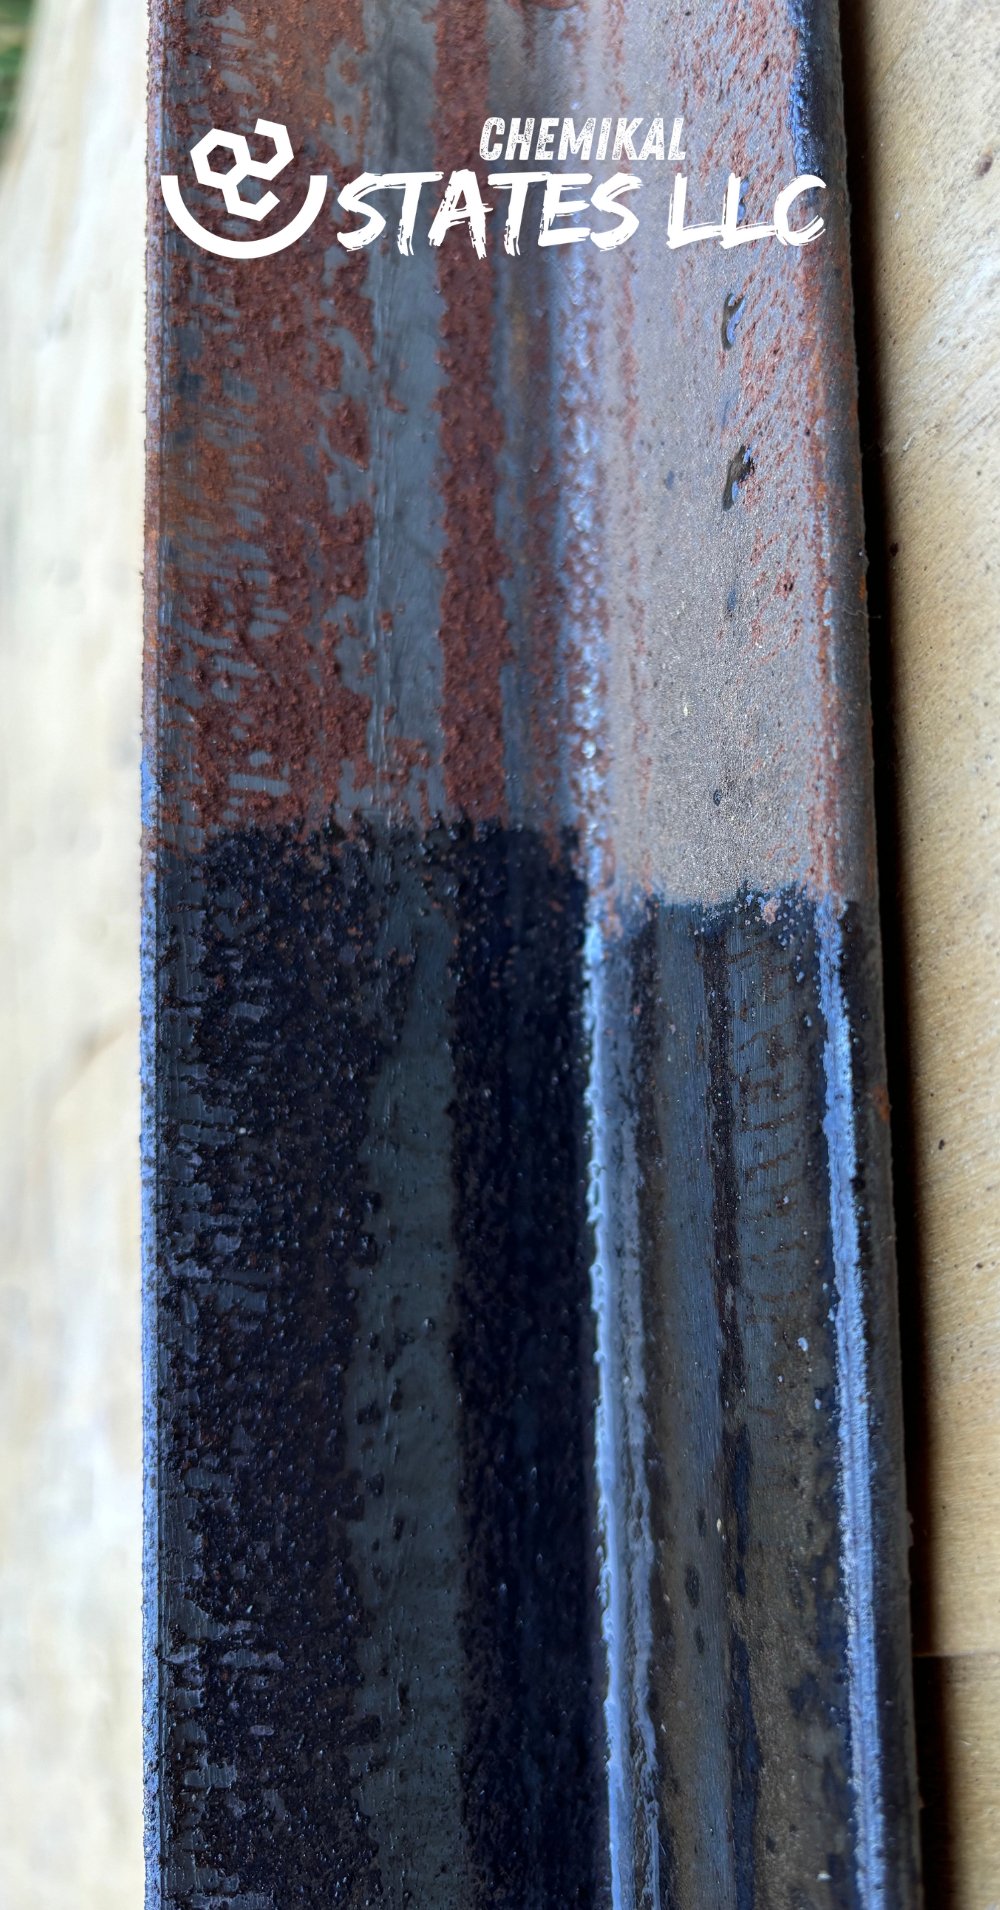
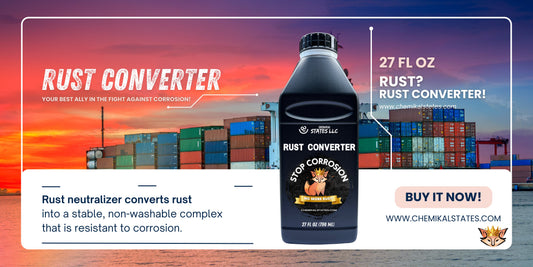
Before we dive into the steps, let's quickly review what a Rust Converter is. A Rust Converter is a chemical solution that neutralizes rust by converting it into a stable, paintable surface. Unlike rust removers that strip away rust, Rust Converters chemically alter rust into a protective layer, making it easier to paint and preventing further corrosion. This makes Rust Converters an excellent choice for preserving metal surfaces and extending the life of your items.
Step 1: Gather Your Materials
To get started, you'll need the following materials:
- Rust Converter: We recommend using the high-quality Rust Converter available at Chemikalstates.com.
- Wire brush or scraper: For removing loose rust and debris.
- Clean cloth or rag: To wipe down the surface.
- Protective gloves and eyewear: Safety first!
- Paintbrush, roller, or sprayer: For applying the Rust Converter.
- Paint (optional): For finishing the treated surface.
Step 2: Prepare the Surface
Proper surface preparation is key to ensuring the Rust Converter works effectively. Follow these steps to get your metal surface ready:
-
Remove Loose Rust: Use a wire brush or scraper to remove any loose rust, dirt, and debris from the surface. While Rust Converters are designed to work on rusty surfaces, removing loose rust ensures better adhesion and a smoother finish.
-
Clean the Surface: Wipe down the surface with a clean cloth to remove any remaining dust, grease, or oil. A clean surface allows the Rust Converter to penetrate the rust and work more effectively.
-
Protect Surrounding Areas: If you're working on a specific part of a larger item, use painter's tape or drop cloths to protect the surrounding areas from accidental application.
Step 3: Apply the Rust Converter
Now that your surface is prepped, it's time to apply the Rust Converter. Here's how:
-
Shake the Rust Converter: Before applying, make sure to shake the bottle thoroughly to ensure the ingredients are well mixed.
-
Apply the Rust Converter: Using a paintbrush, roller, or sprayer, apply a generous coat of the Rust Converter to the rusty surface. Make sure to cover all rusted areas evenly. The product will begin to work as it comes into contact with the rust, transforming it into a stable compound.
-
Allow to Dry: Let the Rust Converter dry for the recommended time, usually between 24 to 48 hours. During this time, the rust will be chemically altered, forming a dark, protective layer.
Step 4: Inspect and Reapply if Necessary
Once the Rust Converter has dried, inspect the surface to ensure all rust has been neutralized. If you notice any remaining rust, apply a second coat of the Rust Converter to those areas and allow it to dry again.
Step 5: Paint the Surface (Optional)
For added protection and a finished look, consider painting the treated surface:
-
Prime the Surface: If necessary, apply a metal primer over the treated area to ensure good paint adhesion.
-
Paint the Surface: Once the primer is dry, apply your chosen paint. Painting not only enhances the appearance but also adds an extra layer of protection against future rusting.
-
Allow to Cure: Let the paint dry and cure according to the manufacturer's instructions before exposing the surface to moisture or heavy use.
Additional Tips and Considerations
-
Weather Conditions: For best results, apply the Rust Converter in a well-ventilated area with moderate temperature and low humidity. Avoid applying the product in extremely hot or cold conditions, as this can affect drying time and performance.
-
Safety First: Always wear protective gloves and eyewear when handling Rust Converter, and work in a well-ventilated area to avoid inhaling fumes.
-
Storage: Store the Rust Converter in a cool, dry place away from direct sunlight. Proper storage will ensure the product remains effective for future use.
Why Choose the Rust Converter from Chemikalstates.com?
The Rust Converter available at Chemikalstates.com is formulated to deliver exceptional results with minimal effort. Whether you're restoring a vehicle, maintaining outdoor equipment, or protecting metal surfaces, our Rust Converter is designed to provide long-lasting protection against rust and corrosion.
Key Features:
- Easy to Use: Our Rust Converter requires minimal preparation and effort, making it perfect for both beginners and experienced users.
- Effective Protection: By neutralizing rust and creating a stable surface, our product ensures that your metal items remain rust-free and protected for years to come.
- Affordable Shipping: We offer reliable shipping at a flat rate of just $7, ensuring that you can get the products you need without breaking the bank. Learn more about our shipping policy here.
Learn More and Get Started
If you have any questions or need further assistance, don't hesitate to reach out to us. Visit our Contact Page to get in touch with our team. We're here to help you achieve the best results with your rust treatment projects.
For more detailed information on rust converters and how they can benefit your specific projects, check out our in-depth blog on vehicle rust protection: Best Rust Neutralizer for Trucks and Vans.
Don't let rust ruin your valuable metal surfaces. Invest in a high-quality Rust Converter from Chemikalstates.com today and enjoy the peace of mind that comes with knowing your items are protected.

